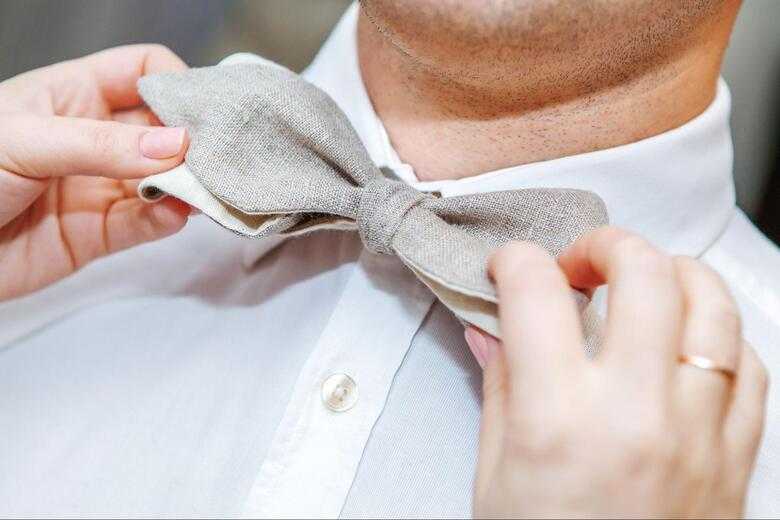
How To Tie The Perfect Bow Tie in 7 Easy Steps
If you are getting ready for your next formal event and have decided on wearing a bow tie, you may not have considered the “how to tie a bow tie implications.” Though a quickly learned task, it does take practice to master tying a bow tie art.
Bow ties are most commonly worn to formal occasions and are accompanied by a suit or a tuxedo - it greatly depends on the location, occasion, and dress code, and if you should, or should not, wear a bow tie.
Taking a few bow-tie practice runs will be a good idea, and before you jump right in, decide on the type of bow tie style you prefer, as there are a few for you to choose from.
Below you can find everything you need to master your bow tie tying.
Popular Bow Tie Shapes
Bow ties come in a variety of shapes and forms, and you might have to test out a few before you decide what looks the best on you! However, these steps should be relatively similar for all bow ties. Again, a quick Google search or an older generational friend can help you with the tieing process.
What are the most common bow tie shapes?
- The Butterfly: The most classic, James Bond, bow-tie shape.
- The Big Butterfly: A more prominent and more relaxed bow-tie shape.
- The Rounded Club: Known as the most casual style, this bow tie has a rounded club.
- The Diamond Point: A unique bow shape with an asymmetrical bow tie knot and pointed dangling end.
- The Batwing: The batwing bow tie is also known as a slim bow tie, this is your smallest bow tie option and is more casual than the classic butterfly bow shape.
How to Tie a Bow Tie - A Step-by-Step Guide:
The time has come to turn your bow tie elegance dream into a reality - find the step by step instructions to guide you tying your own bow tie below:

Step 1:
- Hang the tie around your neck - create a neck loop
- Ensure it is flat.
- Make the right side around 2 inches longer than the left.
Step 2:
- Cross the longer end of the bow over the shorter one (Right over left)
- Bring the long side up behind the short side - similarly to tying a loose knot.
Step 3:
- Pull and fold the left end over itself to create a bow look.
- Hold it to your neck.
- Make sure that the center of the bow is in the center of your neck.
Step 4:
- Pull the longer piece over and in front of the shorter side in the front that is shaped like a bow tie.
Step 5:
- Fold the longer end of the bow into a bow shape.
Step 6:
- Find the loop behind the shorter end (Shaped like a bow tie and held to your neck)
- Push the longer end through the loop.
Step 7:
- Pull at both ends to tie the knot.
There you have it, an easy-to-follow, straightforward guide to tying the perfect bow each time. Remember, as with everything else in life, the more you practice, the easier it will get. So shortly, you won't need a guide in helping you tie the perfect bow, to attend your black tie events.
Also, remember that after step 7 - pull tight - pull and adjust the tie to ensure it is centered and the sides are an even length!

How to Tie a Bow Tie - A Step-By-Step Video
If you have tried to follow a step by step tutorial but still feel somewhat confused by the actions, or your bow tie just isn't coming out the way you would have wished, it could be time to watch a simple to follow youtube bow tie video, these steps will ensure that you get the tie you have been longing for.
This video will provide you with easy-to-follow steps and a person showing you the exact way, close up, of how you can tie your bow tie easily.
Not only does Howcast show you the steps, but he uses the 7 easy steps we provided above, making this a great solution to your tying problem.
Conclusion
Practice makes perfect, right? After a few tries, you should be able to get the hang of it. Still, for now, these 7 steps will provide you with the knowledge you need to attend your formal events looking grand - you can also follow the youtube tutorial by Howcast to get a picture of how to create the perfect looking, classic bow tie and unleash your inner James Bond. If nothing is working for you, you might want to opt for pre tied bow ties, and make this a whole lot easier on yourself.
